Pete's Walks- Coombe Hill and the Hampdens (page 5 of 5)
If you are considering walking this route yourself, please see my disclaimer. You may also like to see these notes about the maps and GPX files.
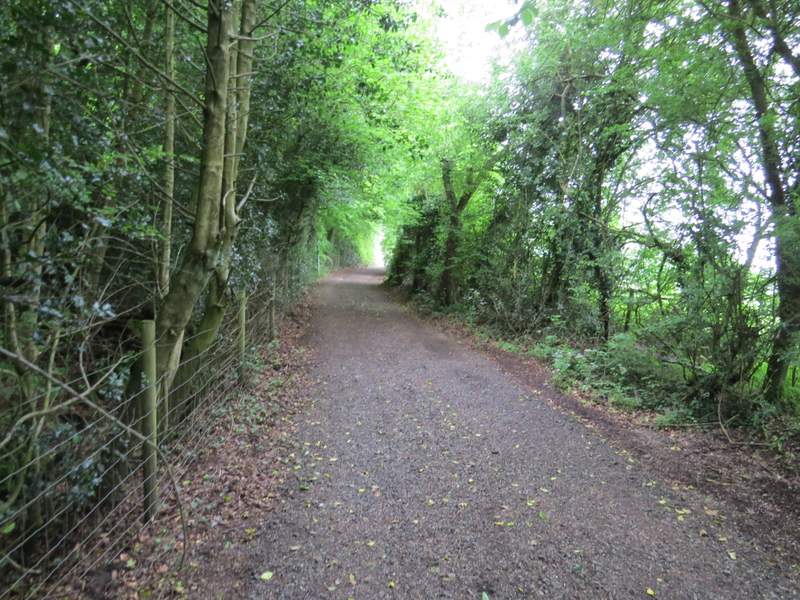
This bridleway soon became a roughly surfaced track, which brought me to the hamlet of Dunsmore. I went straight on when I came to a lane junction in the centre of the hamlet (close to the tiny church and the duck pond). When the lane ended on the edge of the hamlet I went straight on along a bridleway (a footpath forked left here) and then kept left where another bridleway forked right (and passed some paddocks).
The bridleway after I turned left at a junction at the top of the slope, heading towards Dunsmore
The bridleway to Dunsmore
Looking left from the bridleway to Dunsmore

Entering Dunsmore
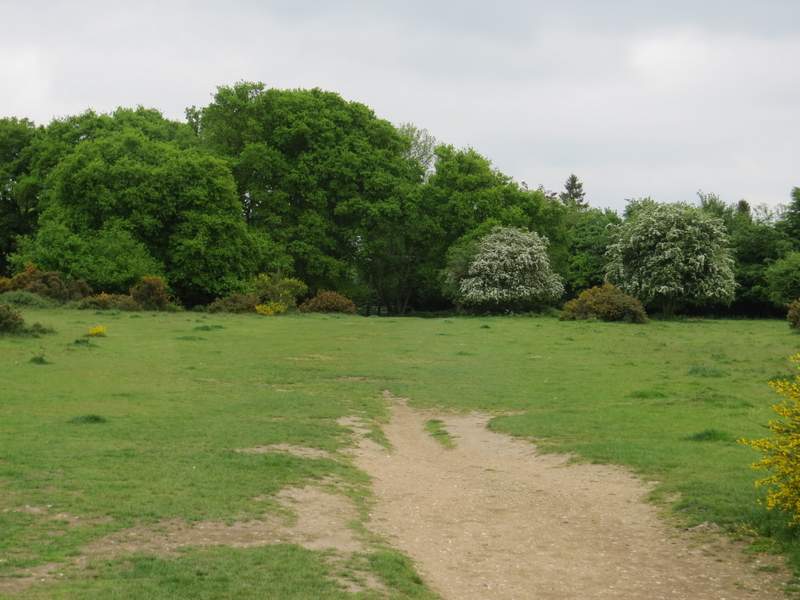
The lane through Dunsmore, after I went straight on at the crossroads in the centre of the hamlet
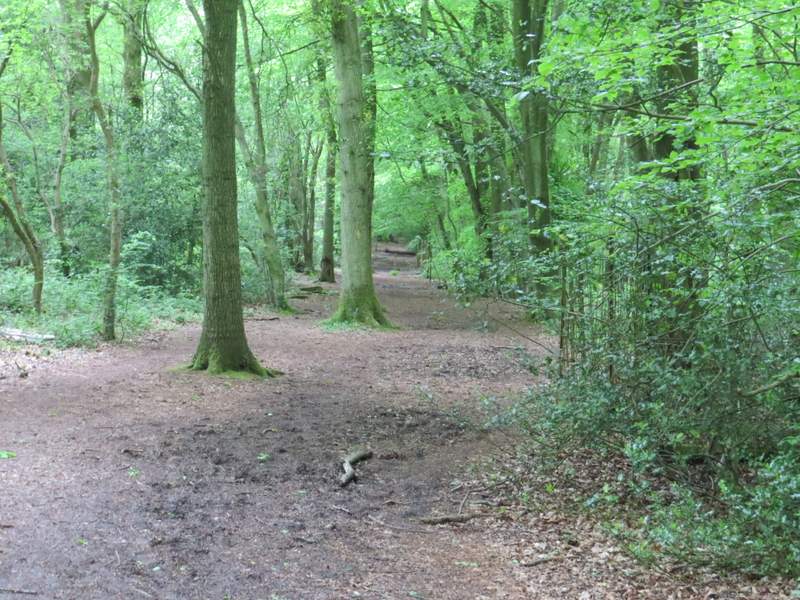
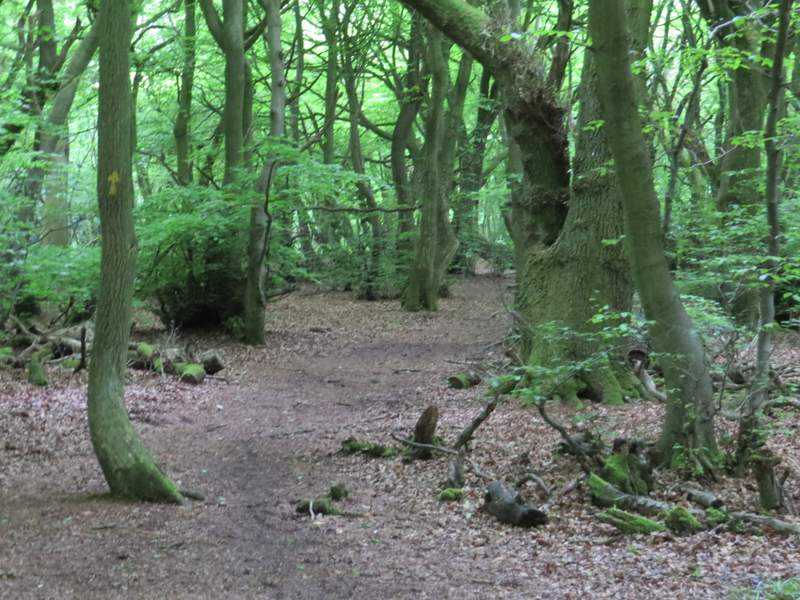
The bridleway ran between fences through a wood named High Scrubs, heading roughly northwest. Further on the wood became Low Scrubs, and there was only an intermittent old iron fence on my right. At one point the bridleway curved left away from the old fence, but I kept on alongside it on a footpath. The bridleway soon came back and merged with the path - I followed it a few yards to the right, then took a path on my left (no waymark or sign, I had to look for an arrow on a tree) to continue in the same direction as I'd been on since Dunsmore. This short path continued through the woods for one or two hundred yards, then I crossed a very broad bridleway (I could have turned left here to reach the car park, shortening the walk by about half a mile) to reach a kissing-gate (hidden behind a tree) on the edge of the wood.
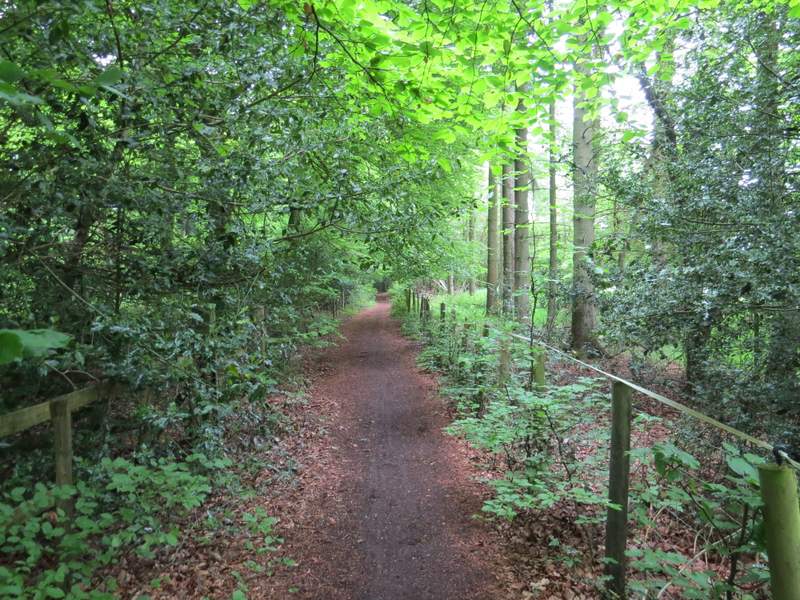
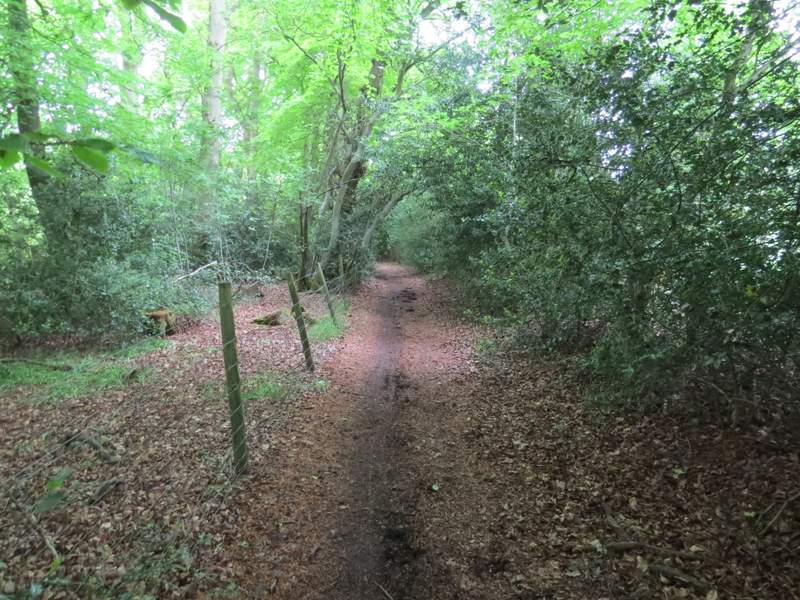
The bridleway from Dunsmore to Coombe Hill
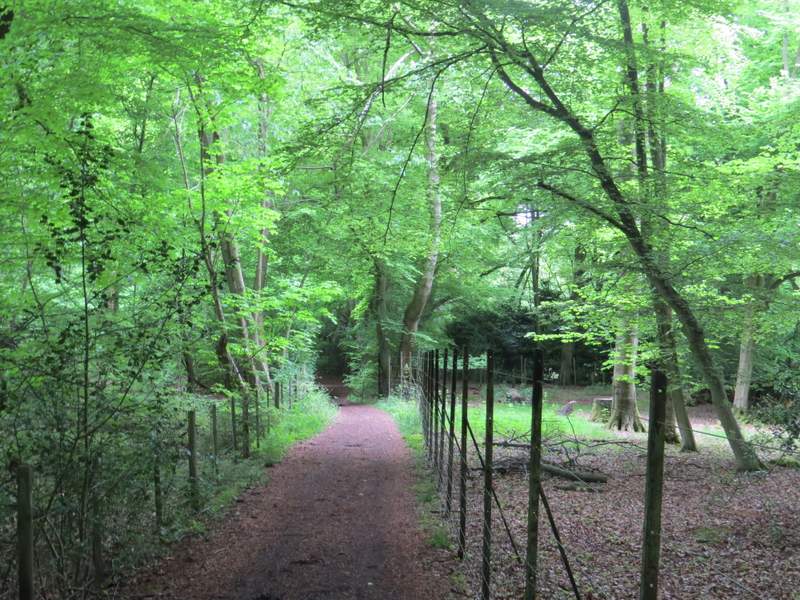
The bridleway from Dunsmore to Coombe Hill
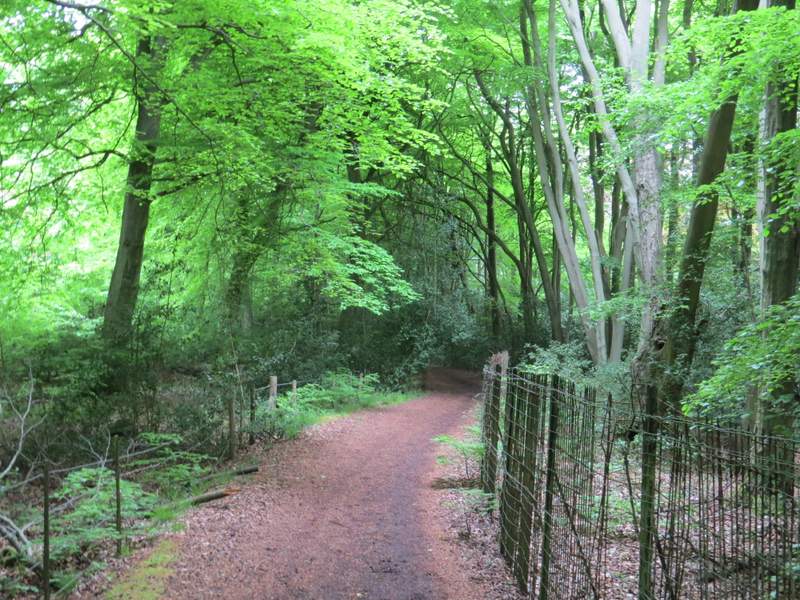
The bridleway from Dunsmore to Coombe Hill
The bridleway from Dunsmore to Coombe Hill
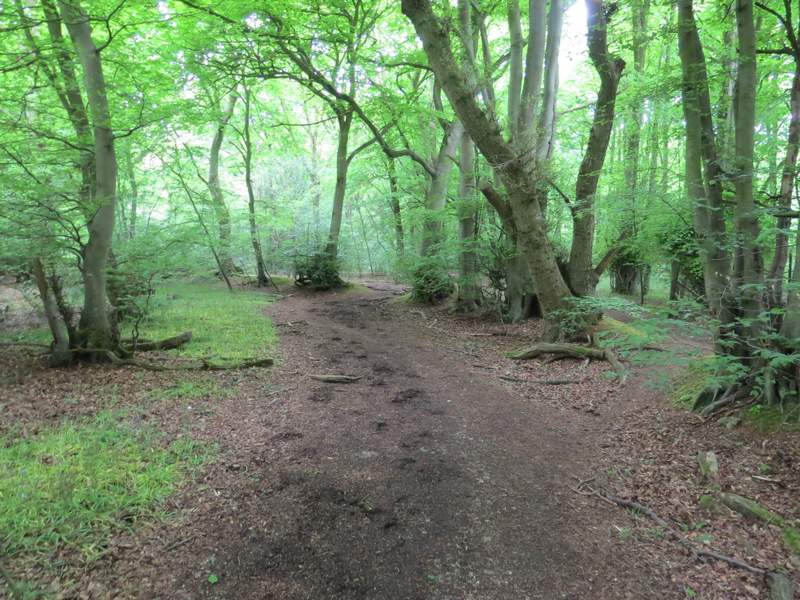
The footpath from Dunsmore to Coombe Hill
The path to Coombe Hill
The path to Coombe Hill (I was heading for a gate behind the tree in the centre of this shot)
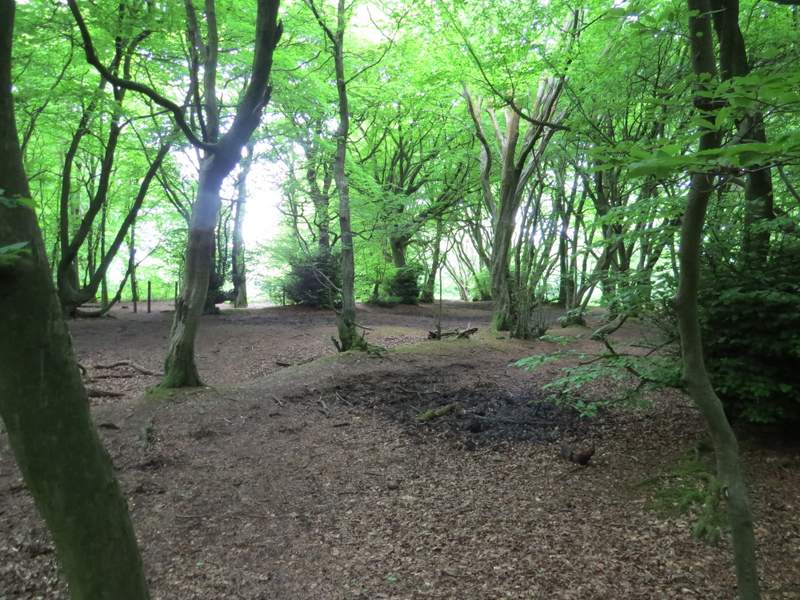
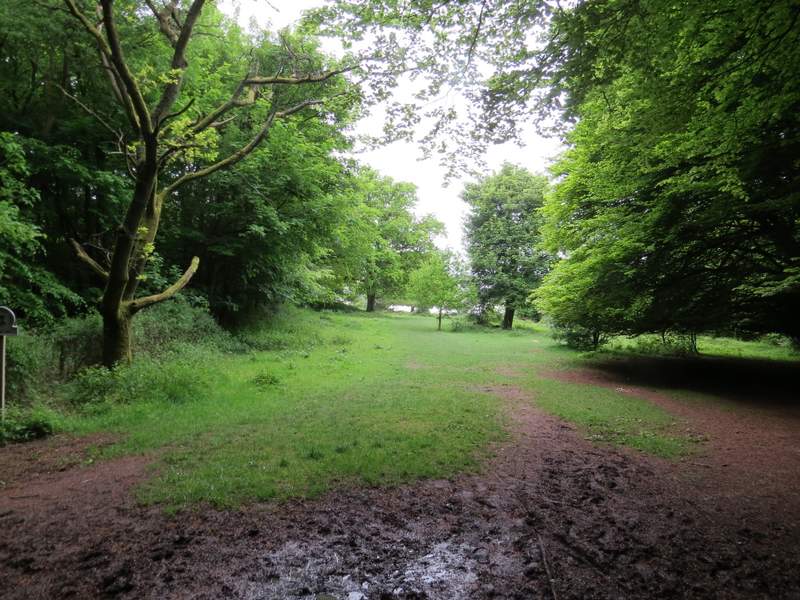
I was now on the scrub-covered top of Coombe Hill, where I followed the edge of the wood on my left a short way and then joined a gravel path heading straight on towards the tall monument on the hill-top. When this path turned left I just went straight on to reach the monument. After taking the usual photos (the views were obviously nowhere near their best on this dismally grey day) I turned left along a broad strip of grass with bushes and trees either side. At the end of the grass, the path went left through some trees and crossed a small area of grass and bushes to return to the car park where I'd started.
The path to the monument on Coombe Hill (from the gate mentioned in the previous photo's caption)
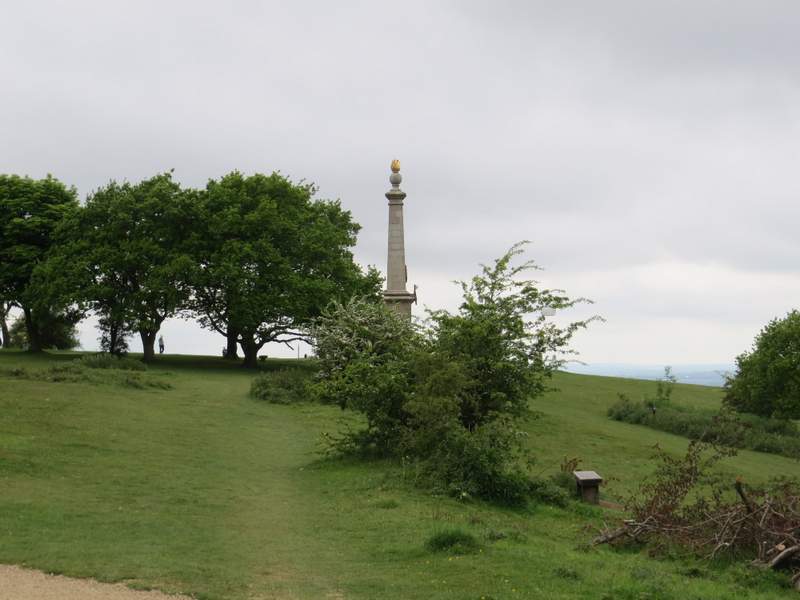
Approaching the monument on Coombe Hill
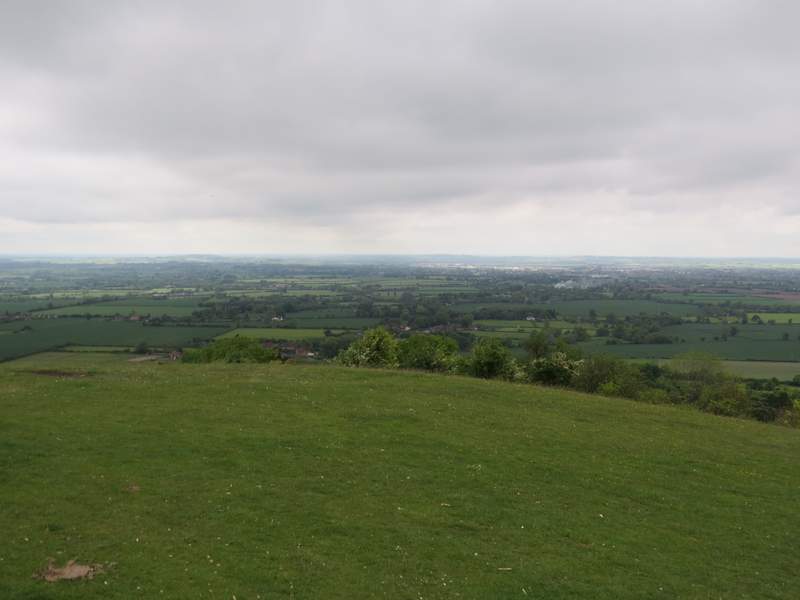
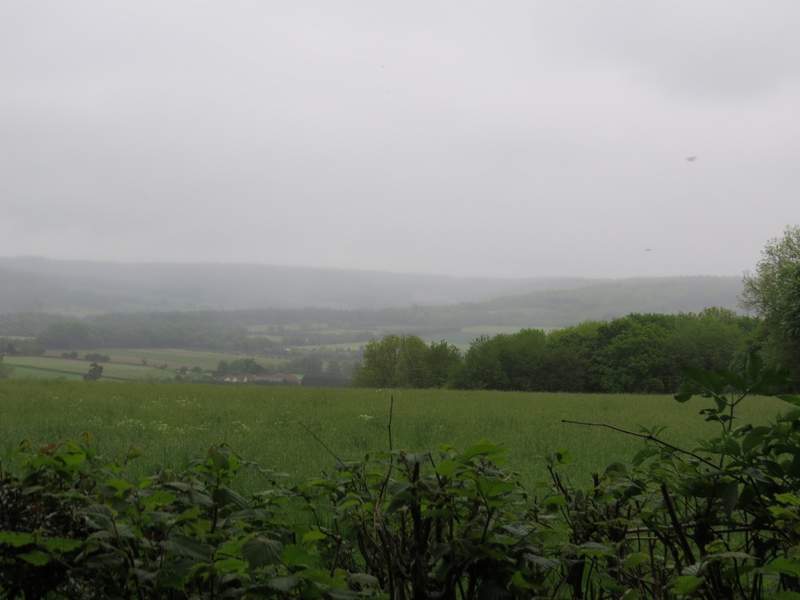
The Vale of Aylesbury from Coombe Hill
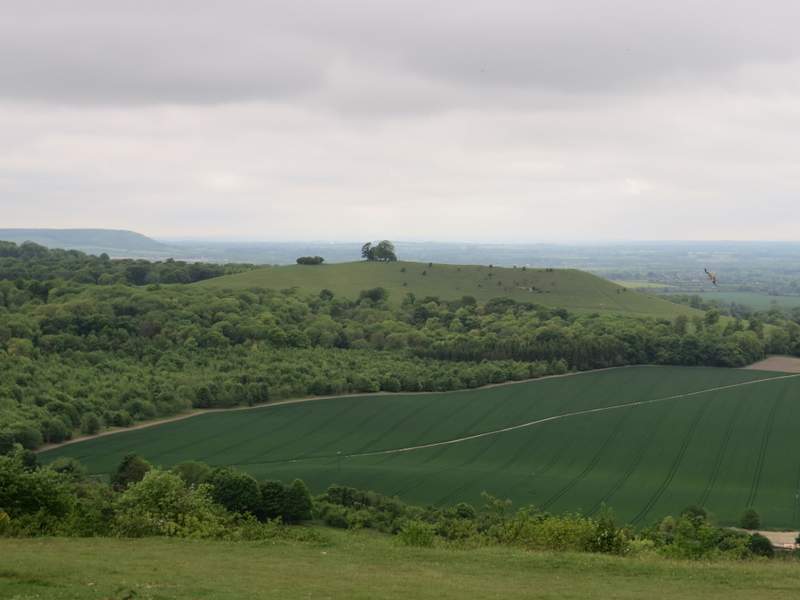
Beacon Hill from Coombe Hill (the distant hill on the left is Wain Hill near Chinnor) - if you look carefully there is a Red Kite just right of Beacon Hill
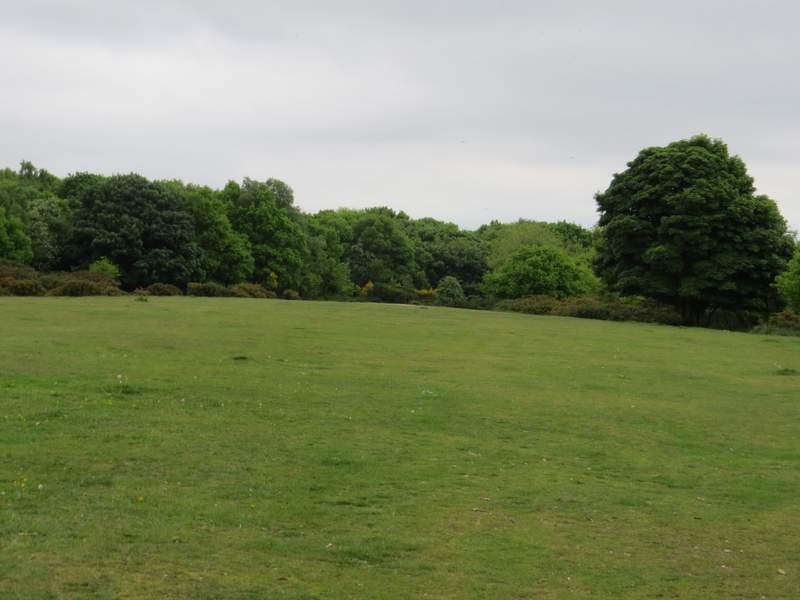
The path back to the car park on Coombe Hill
The path back to the car park on Coombe Hill
It was such a shame that the skies remained grey and gloomy throughout this walk, with hindsight I should have saved this walk for a better day - I still thinks it's one of the best routes I've walked in the Chilterns and it deserves to be done on a nice sunny day to make the most of the numerous fine views it offers.