Pete's Walks- Great Missenden and Coombe Hill (page 2 of 5)
If you are considering walking this route yourself, please see my disclaimer. You may also like to see these notes about the maps and GPX files.
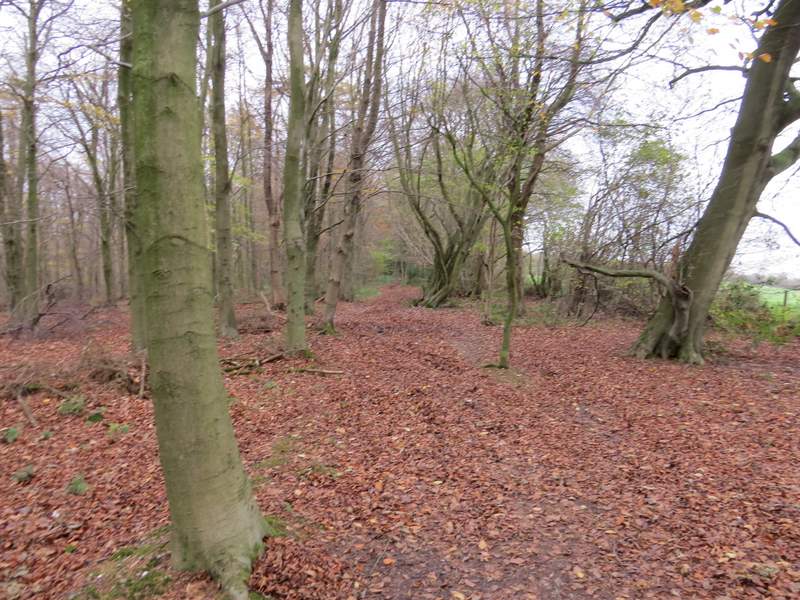
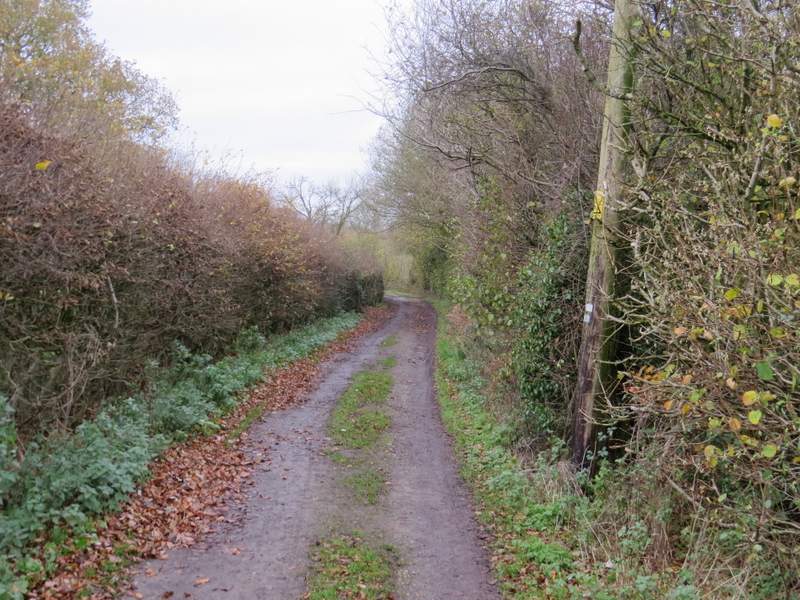
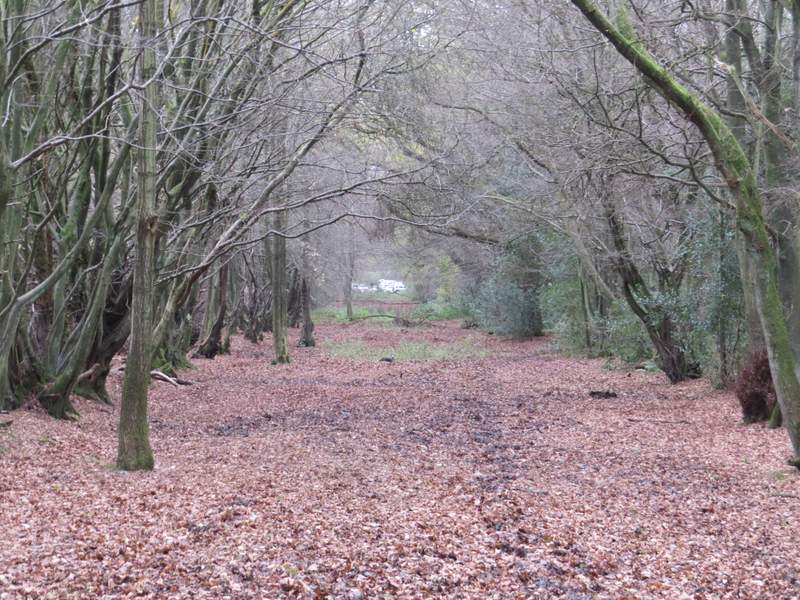
I crossed the lane here, and continued down the drive or track opposite. After leaving the houses of Cobblers Hill behind, this became a bridleway running between fences and hedges for a while, before entering Hampdenleaf Wood. The bridleway continued through the wood for almost three-quarters of a mile, generally staying close to the edge of the wood on my right. On reaching a solitary cottage the bridleway became more of a track, and soon left the wood. There was now a view to my right, across the valley to Barn Wood where I'd be walking later on. The track continued on a little further to bring me to the hamlet of Dunsmore.
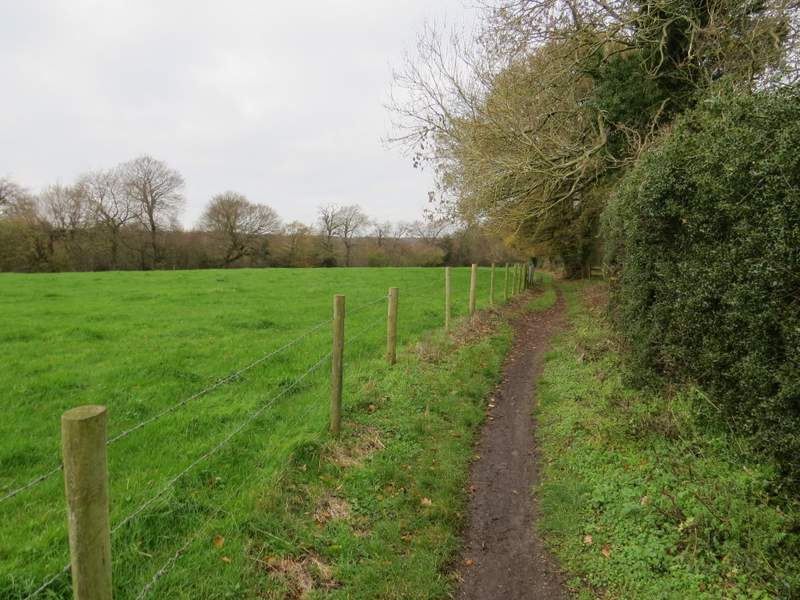
The bridleway continuing from Cobblers Hill to Dunsmore
The bridleway continuing from Cobblers Hill to Dunsmore
The bridleway continuing from Cobblers Hill to Dunsmore
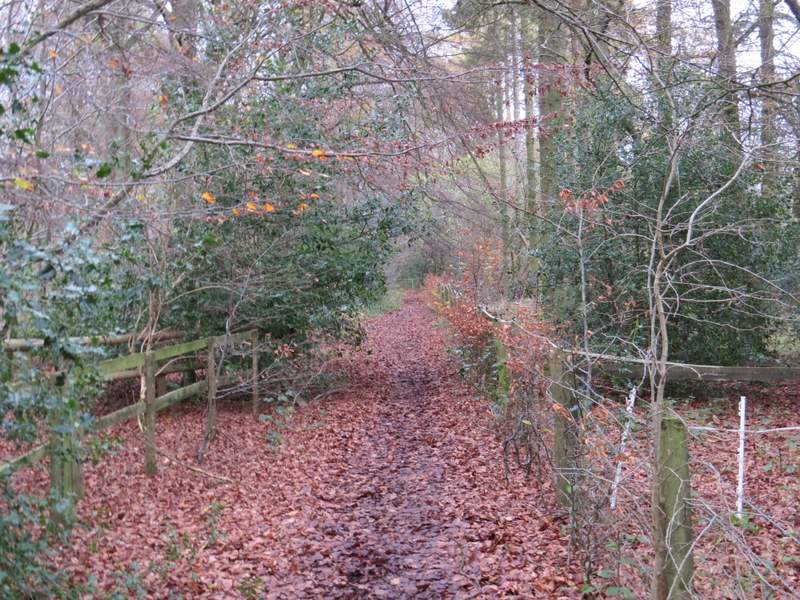
The bridleway continuing from Cobblers Hill to Dunsmore - this is just after the isolated cottage south of Dunsmore
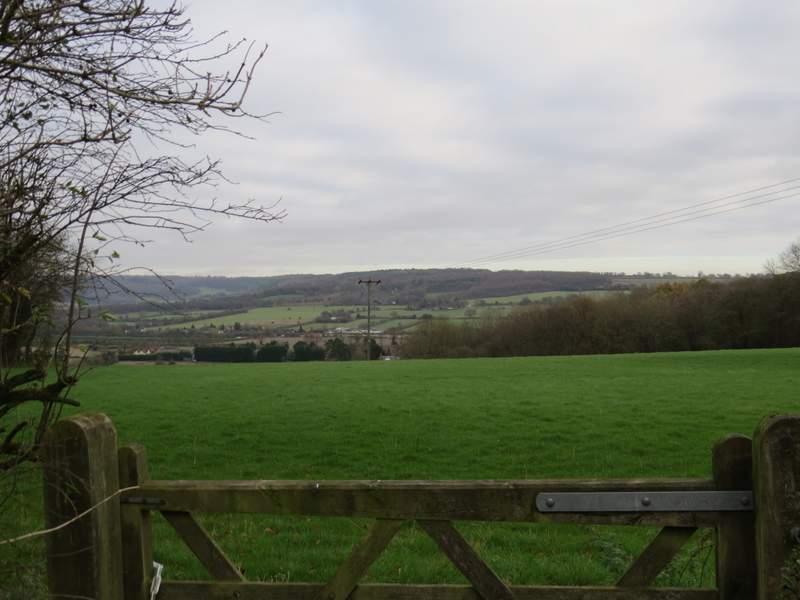
Looking right from shortly before reaching Dunsmore, across the Valley to Barn Wood which I'd pass through later on
Approaching Dunsmore

The chapel at Dunsmore
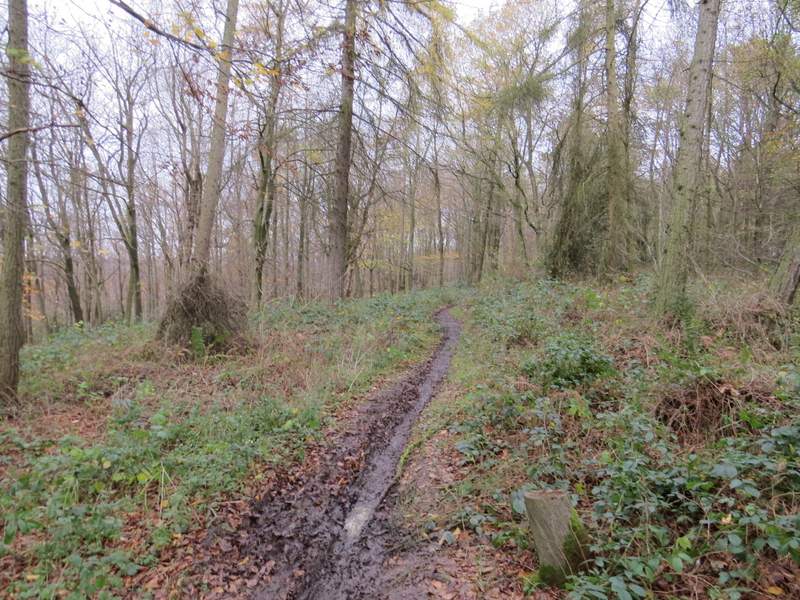
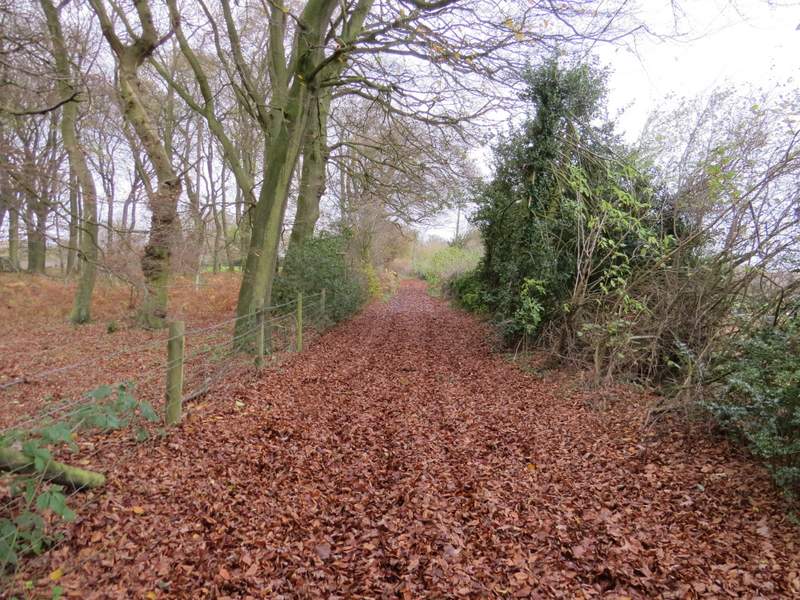
I went straight on through the hamlet, at first along a lane and then continuing along a bridleway. At a bridleway fork just beyond the hamlet I kept left, staying just inside a wood called High Scrubs. Initially there were fences either side of the bridleway, further on there was just a very old metal fence on the right. At one point the bridleway went a little left, but I followed a footpath that continued beside the old fence. About a mile after leaving Dunsmore, the fence turned half-right, the bridleway I'd been on earlier coming in from my left here to again follow the fence. But I went straight on looking carefully for arrows on trees marking the route of a footpath (the first white arrow seemed to point a little too much to the left, but I soon spotted a yellow arrow that put me right). I went slightly right where this path joined (or merged with) another, and soon reached a broad track where I turned left to reach the car park at Coombe Hill (this bit of bridleway to the car park was atrociously muddy, as it so often is).
The bridleway from Dunsmore to Coombe Hill
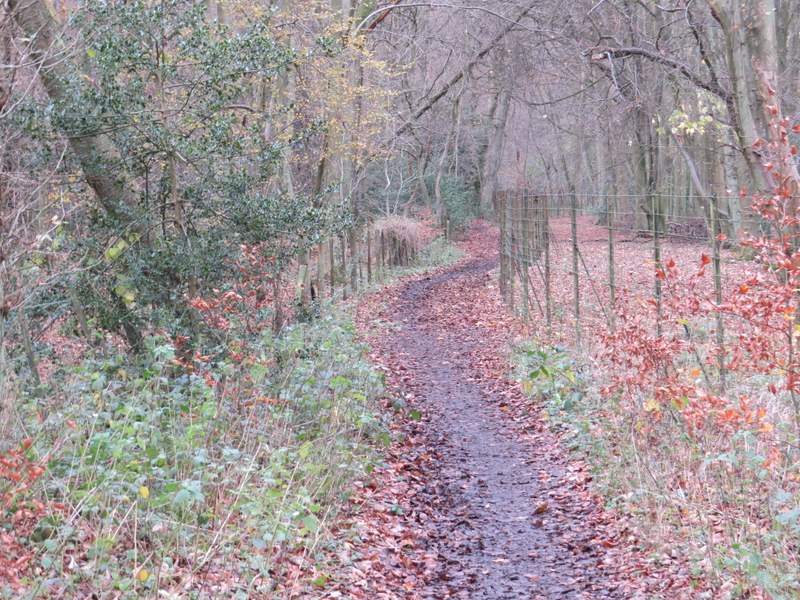
The bridleway from Dunsmore to Coombe Hill
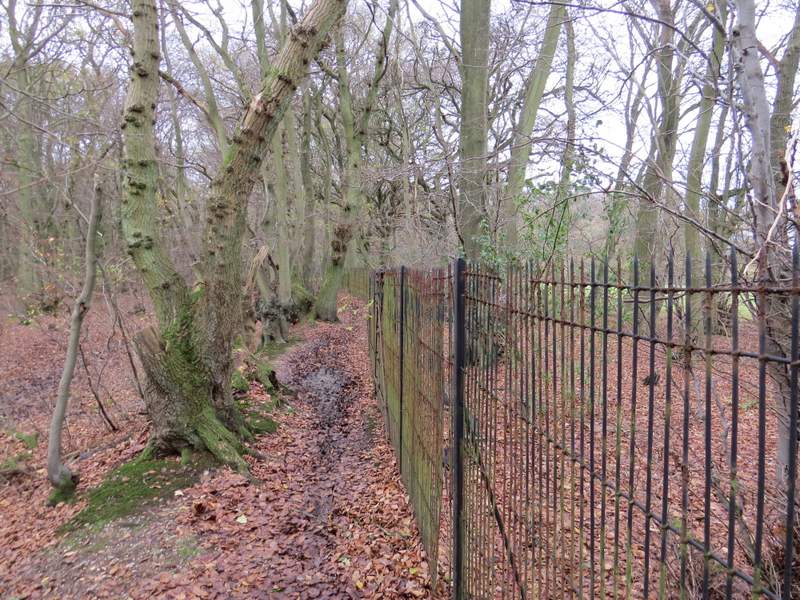
The bridleway from Dunsmore to Coombe Hill
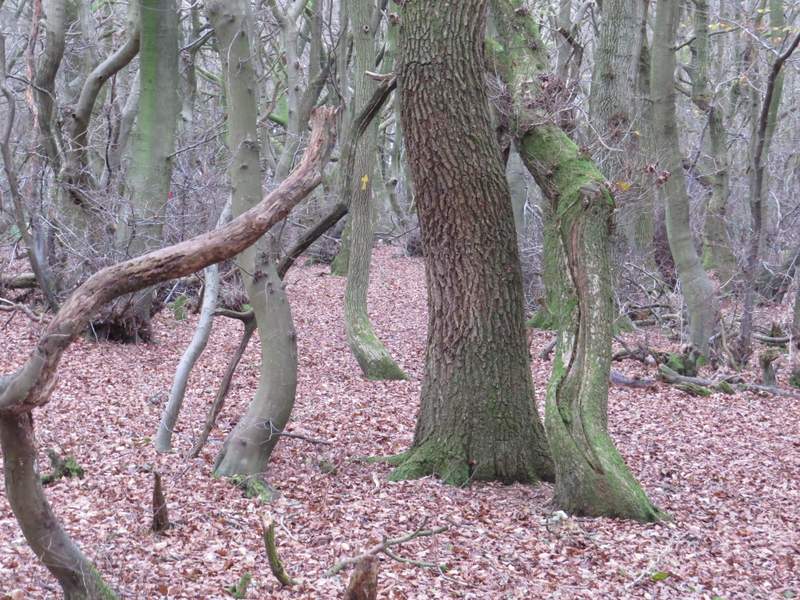
The path continuing from the bridleway (you need to look for this first yellow arrow to guide you)
The very muddy bridleway leading to the Coombe Hill car park
At the far end of the car park I went through the gate on the right and took the middle of three paths, crossing an area of grass and bushes then going through a narrow area of trees. The path then turned half-right to follow a broad area of grass with bushes either side, to reach the Boer War monument on top of Coombe Hill. The views were nowhere near their best on this gloomy November day, so I wasn't tempted to linger long here.
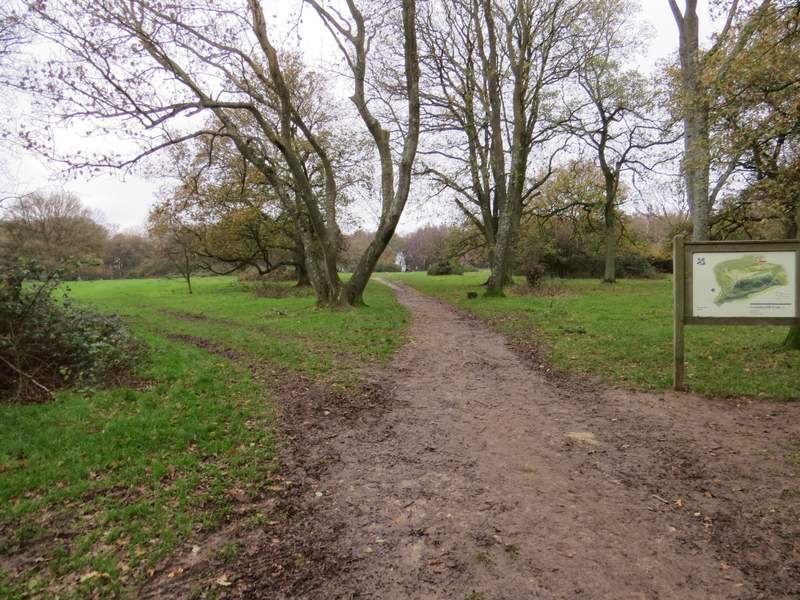
The start of three paths from the Coombe Hill car park, I took this central one (you can't really see the gravel path going right)
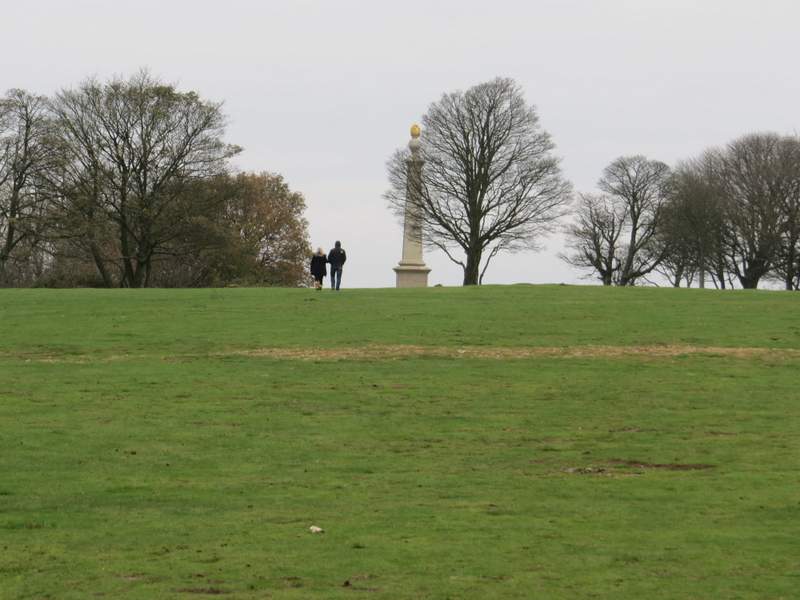
Approaching the monument on Coombe Hill
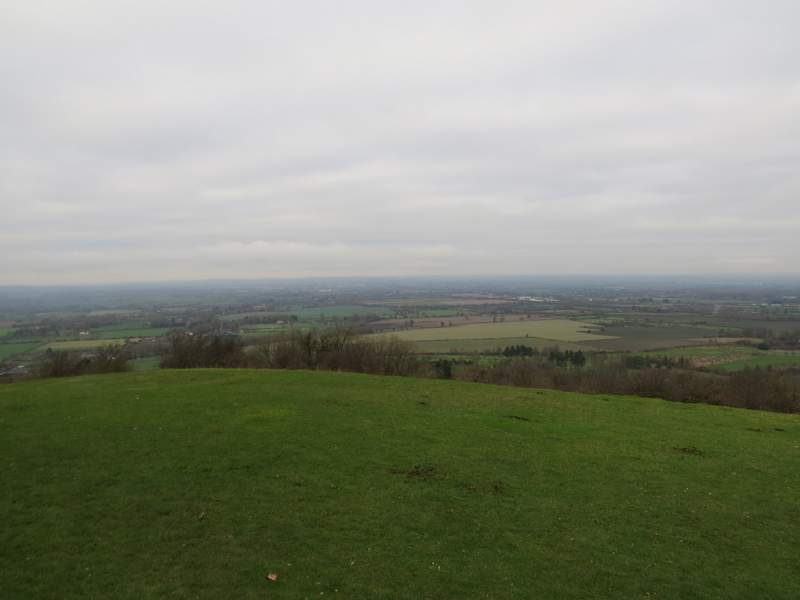
The view over part of the Vale of Aylesbury (I'm sure I could actually see Aylesbury itself, but my camera has wisely chosen to hide it in the gloom)